


Printers Jack Iron-On Heat Transfer Paper for Dark Fabric 40 Pack 8.3×11.7″ T-Shirt Transfer Paper for Inkjet Printer Wash Durable, Long Lasting Transfer, No Cracking
Original price was: $38.99.$35.09Current price is: $35.09.


Product description


Cover the image with the provided separator paper.


1 Dark Step 1- Print
2 Dark Step 2- Cutting
3 Dark Step 3-Cover
4 Dark Step 4- Transfer
5 Dark Step 5- Finished
 Contrast with Others
 High Quality


1 Heat Transfer of Clothes
2 Heat Transfer of Apron
3 Heat Transfer of Hat

Tips after transfer:
1.Do not pull the fabric forcibly after transfer, and do not wash within 24 hours, allow the ink to fully set and bond with the fabric fibers. This waiting period ensures that the image remains vibrant and durable over time.
When it’s time to wash your fabric, always ensure that the pattern faces inward to protect it from direct friction and wear. Please use cold water washes.
3.When cleaning fabric, avoid using harsh chemicals like bleach or alkaline detergents, as they can damage the ink and fabric. Additionally, avoid rubbing the printed area with your hands.
4.High temperatures can cause the sublimated ink to break down and dissolve, leading to faded or distorted images, allow the fabric to air dry naturally in a cool, shaded area.
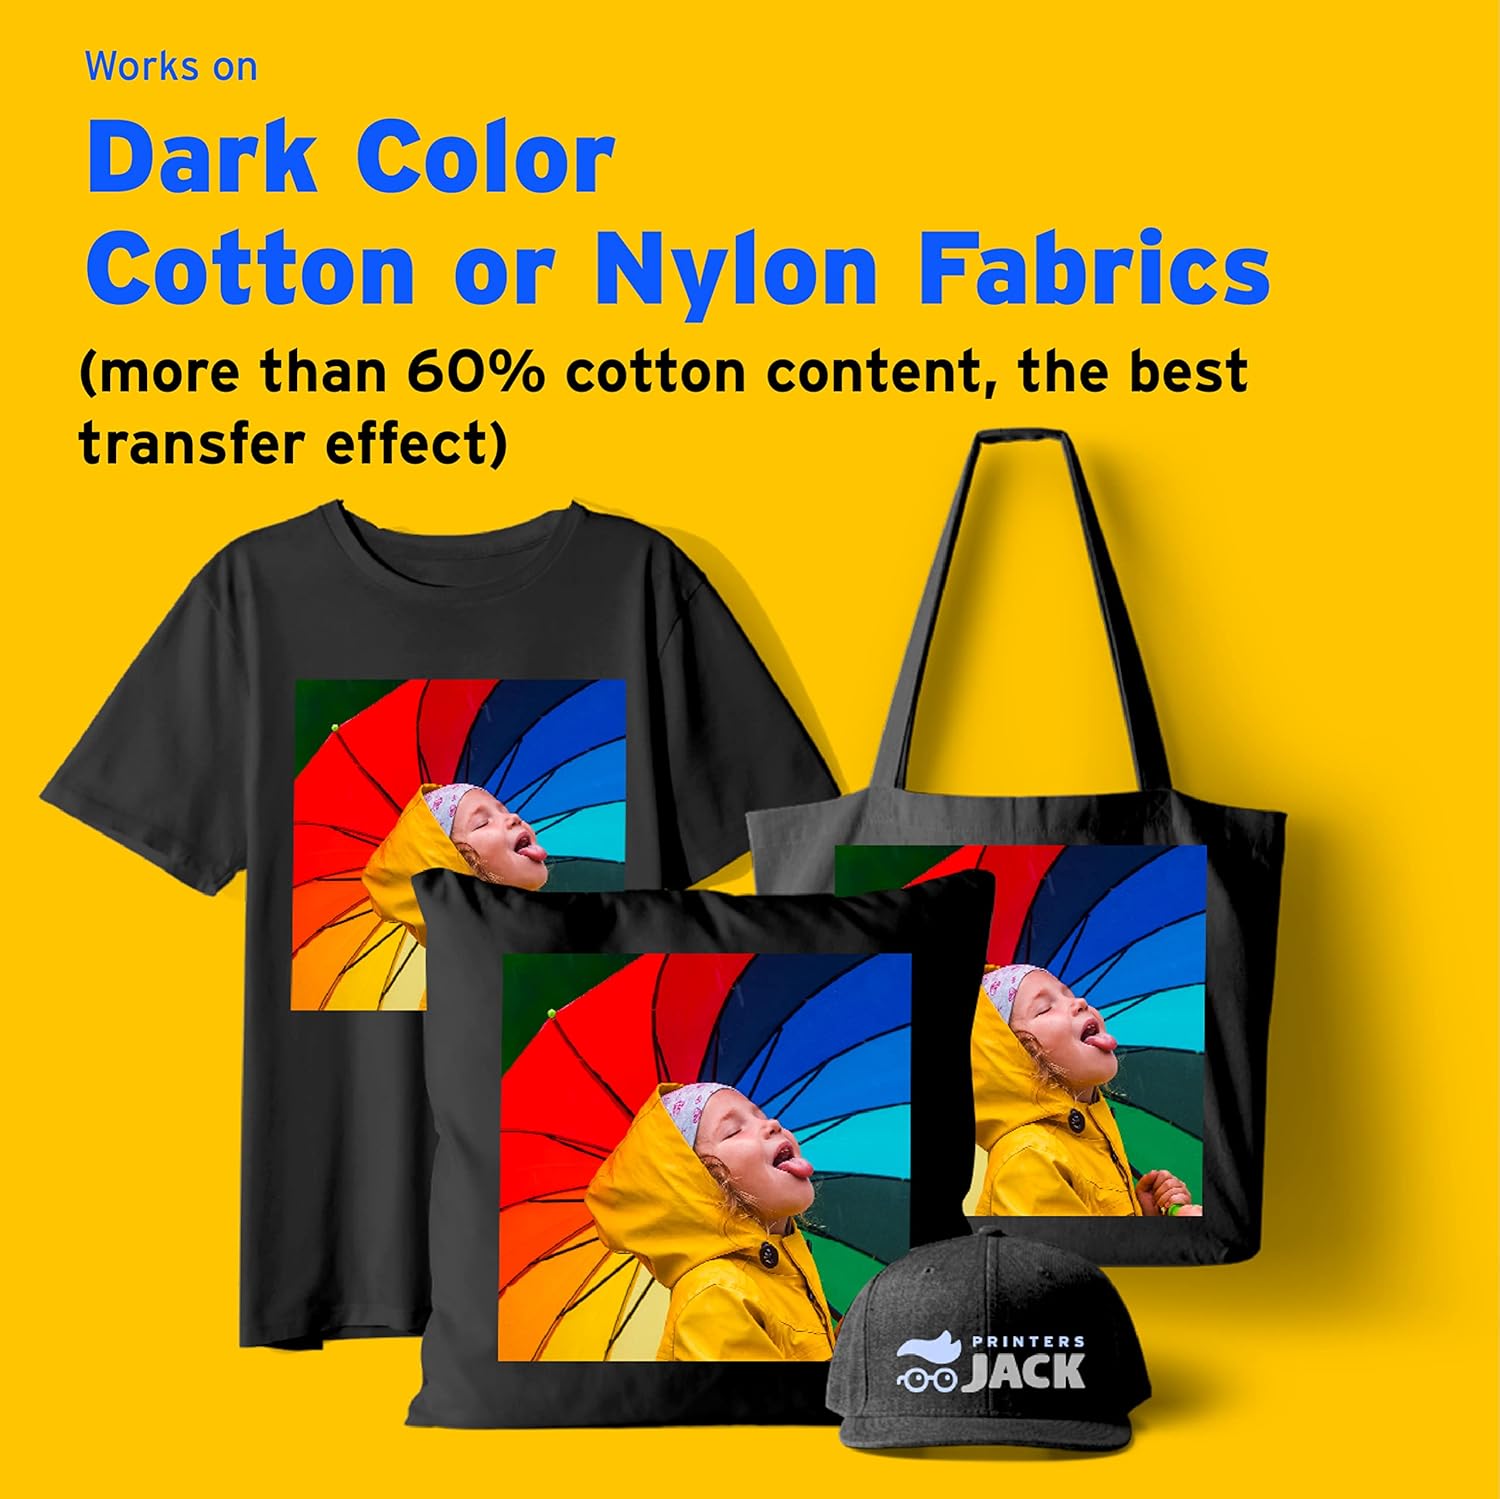
5.Use on the dark color cotton or nylon fabrics(best transfer effect for fabric with 60% cotton or more). These materials provide a good surface for the ink to bond with, ensuring long-lasting and vibrant images.
[High Quality:] 40 sheets of dark heat transfer paper, 8.3″ x 11.7″ -inch sheet size. Extremely durable & stretchable material can absorb ink beautifully. Withstands washer and dryer cycles. For use on DARK color cotton or nylon fabrics (fabrics with more than 60% cotton content gives the best transfer results)
[Tools to Prepare:] Inkjet heat transfer paper; Inkjet printers like Epson, HP, Brother, Canon and many more, using only Pigment Ink; Heat press machines; Dark color pattern to be transferred; Protective paper; Scissor
[Frees Your Creative Spirit:] There are so many items that you can heat press heat transfer vinyl, black T-Shirts, bags, pillow cases, aprons. Give your friends and family unique handmade gifts for Christmas, Easter, Thanksgiving, Birthday, Fathers Day, Mothers Day, Valentine’s Day. You can also turn T-Shirt transfer paper into a revenue-generating plan at home
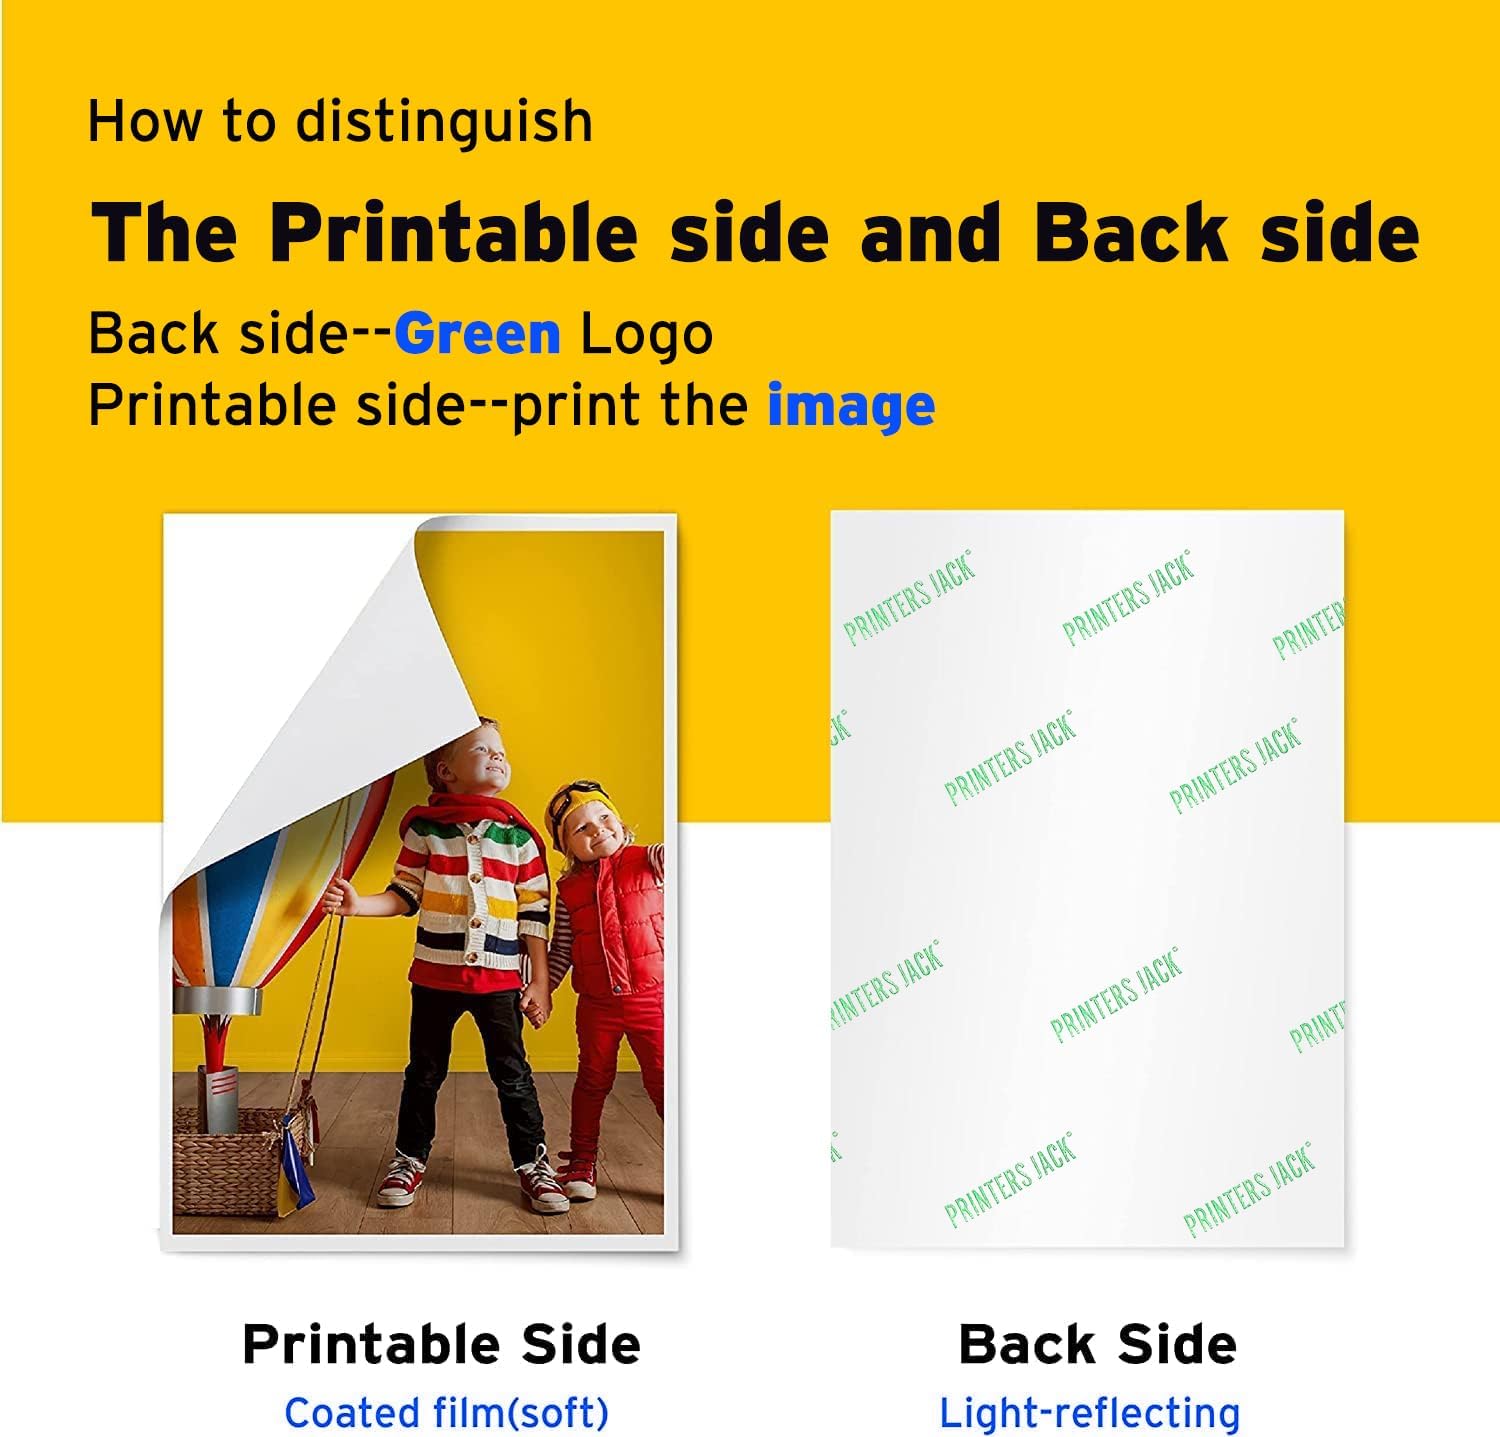
[Easy to Use:] 1.Print the image on the coated film(soft side) and cut the shape. 2.Peel the printed film, place it onto the fabric, the side with the image should be upward(frontal placement). 3.Put one sheet of the protective paper on the printed film of the paper, set the time and the temperature. 4.Transfer under a certain pressure. Time: 25-30 seconds, Temperature: 329-365℉(165-185℃), Pressure: Heavy. 5.After the ironing is complete, remove the separator paper without cooling.
[100% Customer Satisfaction Guarantee:] We strive to provide high quality product. If you have any problems with our product, please feel free to contact us


Aimen –
Works well and easy to use!
I’ve tried a few different transfer papers for clothing projects, and this one is by far my favorite. The quality is excellent—my designs came out vibrant and held up well after washing. It’s also really easy to use, even for someone like me who’s not super crafty. Instructions were clear, and I didn’t have any issues with peeling or cracking. Plus, the price is pretty decent compared to other brands. Definitely a great buy if you’re customizing shirts, tote bags, or anything fabric-related!
Amazon Customer –
Great quality
I love printer jacks printable vinyl, and I have to say the same for the transfer sheets. The visuals and quality is outstanding!
Patricia Ramirez –
Happy
Ok this is now favorite one! The colors came out beautiful. Easy to use just remember to mirror as needed.
Dr. Manhattan –
Horrible instructions. HORRIBLE. Here’s how you do it…
Ok the instruction were absolutely terrible. Zero support on the website contrary to what the instruction sheets say. So it mentions what side to print on in different ways depending on what production lot the paper was from. There are no marking on the back side on most of the newer lots. You print on the glossy side. Set your printer to a gloss paper and on normal or better quality. Draft is a no-no and best is a waste of ink. It’s difficult to adjust some printers to the actual paper size. It’s not really letter size it’s a little longer and more narrow. It will print on letter but will likely be offset. If you want to save yourself a headache put your design on a Word document and fiddle with it there. As long as you leave about an inch on each side minimum you’ll be fine but you may have to do some cutting. The paper sometimes separates too easy depending on your printer and the paper settings. Sometimes the paper you get may have a manufacturing issue prone to separate easier. It’s usually where the paper enters the printer and it’s most of the times it’s minimal. If you leave at least 2 inches between the end of the sheet and your design you can trim off the area that began to separate. When cutting, rounded edges work better than straight ones. They seem to peel easier and appear to be more durable. Watch for jagged edges when you’re cutting and ALWAYS leave at least a half inch or better around your final product. It mentions it in the instructions but in a not understandable way. Some folks peel the backing off and then iron but the transfer paper is fragile and more prone to getting hung up on the material when ironing. I always keep the backing on and use oversized parchment paper so that it hangs an inch or 2 over the sides of the design. The paper parchment paper it comes with the kit is like toilet paper use your own parchment paper if you have any. Use slow motions light pressure at first and start putting some good weight behind your iron. Don’t forget to concentrate a pass or 2 on the outline of your transfer and watch that the tip of your iron doesn’t get hung up on the fabric. A little over 2 minutes on high usually does the trick. Do not use an ironing board work it on a smooth wood floor or wood table. Do not iron on glass, ceramic, or anything that may conduct heat away from your material. Finally let the shirt or whatever cool somewhat before peeling. Not piping hot and not too cold. Cool. Peel slow and methodically. If you peel too fast you’ll see the end transfer to the backing and you may get uneven color transfer on your material. End product will probably survive between 1 and 4 washes. Wash gentle inside out and NO dryer. Don’t wash for at least 24 hours I’d say 48 hours. Oh yeah the white transfer requires you to create a mirror image of the photo and text. Some transfers do not. Most do however. Make sure to read the instructions. When you place the transfer on your material printed size down the final product should be oriented correctly. If it’s not you either placed it on the shirt the wrong way or you didn’t mirror the image. If your printer doesn’t have a “mirror” setting you have to do it manually on your photo software or on Word.Final product is decent. Looks way better than Avery at a fraction of the price. The Avery lasts a little longer I think however. This would be 5 stars if they had better instructions or support on their website. They only seem to have support for their dye sublimation transfers not for inkjet.
unhappy –
Happy camper
It worked great for my tshirt project
Rae –
DON’T BUY THIS, IT SUCKS!
Don’t waste your time or money! I don’t have enough bad words to use to describe this paper. It was damn near impossible to peel the back off and then when I finally did, the design would tear if I wasn’t extremely careful. I had to Google how to get the paper off the back and found a TON of people complaining about the same issue… Believe the bad reviews!
june moore –
Love It
love
Samuel Hutchins –
DELIVERY WAS ON TIME !
THIS WAS JUST WHAT I NEEDED !
Shonni –
After much, and mean very much researching before going back to transfers from many years ago, and sublimation, decided on this for the dark fabrics and the colours came out stunning, had to feel for the edge of the transfer, so am really pleased. Thanks to those who know what they are doing and posted for us to read
AnnetteCullen –
This is the best for doing tshirts or any iron projects . Holds up very good after washing several times
badderr –
I placed the paper in my Epson printer glossy part facing down printed it (mirrored) then used my heat press machine but still there is like a transparent film on top that I can’t remove
Laura –
I got these for some DIY I had planned and was pleasantly surprised at how well it went. It took a little trial and error to figure out how they work best but once you have that figured out it works great. They went through my printer just fine and ironed on great. I have used these a few different times now for different projects and each time I was happy with the outcome.The only downside was that sometimes it can be a little difficult to peel away the backing before actually ironing it on. It just takes a little bit of patience.
Shakeena –
This paper is not good very hard to peel I don’t like this